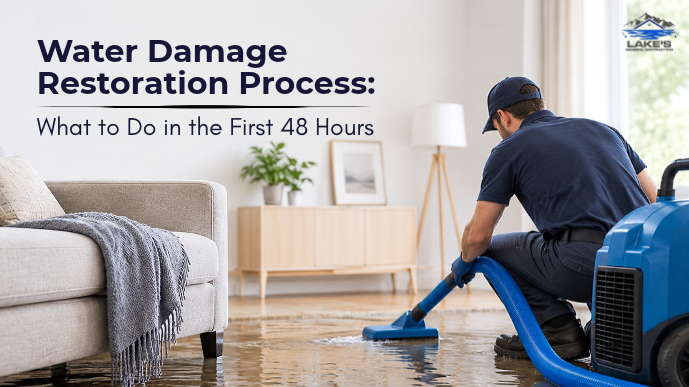
Water Damage Restoration Process: What to Do in the First 48 Hours
The first 48 hours after water damage can determine how extensive the repairs become. For residential water damage restoration in La Center, start by stopping the water source, cutting power to affected areas if it’s safe to do so, photographing all damage for your insurer, and beginning the drying process as quickly as possible. The EPA advises drying water-damaged materials within 24 to 48 hours to help prevent mold growth. Beyond that window, contamination risks can increase, and drywall, insulation, and subfloors may be more likely to require removal and replacement. Water in your home right now? Call Lake’s General Contracting at (360) 901-0292 for 24/7 emergency response in La Center, Ridgefield, Battle Ground, Woodland, and across Clark and Cowlitz Counties. It’s hard to think clearly with water on the floor. This guide walks through the water damage restoration process in order, from the first few minutes to the final coat of paint, plus what it typically costs and how Washington insurance usually handles it. KEY TAKEAWAYS The First 48 Hours at a Glance When What to do Why it matters First 15 minutes Shut off the water. Cut power to wet areas if you can reach the panel from a dry spot. Stops the damage from spreading and removes the shock risk First hour Photograph and video every wet room, the leak source, and damaged belongings. Your insurer needs to see conditions before cleanup Same day Call your insurer and a restoration contractor. Move belongings. Remove clean water if it’s safe. Insurers expect prompt reporting 24–48 hours Professional drying underway, with daily moisture readings. The EPA’s window for preventing mold After 48 hours Expect more tear-out and a mold check. Water degrades, and materials stop being salvageable. Why the First 48 Hours Matter Water keeps moving after you see it, and every hour it sits makes the job bigger. Mold can start within a day or two. The U.S. Environmental Protection Agency advises drying water-damaged areas and items within 24 to 48 hours to prevent mold growth. That’s the real deadline, and in a damp Southwest Washington fall or winter, wet materials won’t dry much on their own in that time. Clean water doesn’t stay clean. The restoration industry’s standard, IICRC S500, sorts water into three categories by how contaminated it is: Category Typical sources What it means for cleanup 1 — Clean water Broken supply line, overflowing sink or tub Materials can often be dried in place if you act fast 2 — Gray water Washing machine or dishwasher overflow Porous materials may need removal; surfaces are disinfected 3 — Black water Sewage backup, floodwater from outside Every porous material it touches comes out; professionals only Category 1 water doesn’t stay that way. Time, warmth, and contact with dirty building materials degrade it, often within a day or two, and that usually changes what can be dried and what has to be thrown out. Restorers also rate damage by class, from Class 1 (a small area with little absorption) to Class 4 (deep saturation of hardwood, plaster, or masonry). Category tells you how dirty the water is. Class tells you how much drying it will take. Both drive the cost. Hidden water damage behind walls and under floors The water you can see is rarely the whole problem. Drywall acts like a sponge, pulling moisture up the wall well above the puddle line. Water runs along joists and collects under laminate, vinyl plank, and hardwood, so a floor can look dry on top while the subfloor stays soaked for days. In homes with a crawl space, which is common across Clark County, water that gets through the subfloor can pool on the vapor barrier below, completely out of sight. What to Do After Water Damage: Step by Step 1. Stop the water and make the area safe. Close the main water shutoff, usually where the line enters the house, or the valve behind the leaking toilet or appliance. If water is near outlets, cords, or the electrical panel, don’t walk through it. Turn off power to the affected area at the breaker only if you can reach the panel from a dry spot. Otherwise, call your utility or an electrician first. Don’t switch on ceiling lights or fans under a wet or sagging ceiling, because sagging means water is pooling above it. 2. Document the damage before you clean up Before you move anything, photograph and video every wet room, the leak source, and damaged belongings, including inside closets and cabinets. Note the time you found the water. If something has to go to the curb, photograph it first and keep a small sample, such as a cut piece of carpet or drywall, until your adjuster has seen it. Call your insurer the same day. Washington’s Office of the Insurance Commissioner says homeowner policies usually cover sudden, accidental leaks if you report them quickly and follow your insurer’s recommendations. It also says extra damage caused by delaying repairs isn’t covered. 3. Remove clean standing water and move belongings If the water is clean and it’s safe, use towels, mops, or a wet-dry vacuum (never a household vacuum) to pick up what you can. Move rugs, furniture, and electronics to a dry room, and run fans and a dehumidifier if you have them. Skip this step with sewage or floodwater. Category 3 water carries bacteria, so leave cleanup to professionals with protective gear. 4. Call a contractor who can dry and rebuild Household fans can’t dry a wall cavity or a subfloor in time. A professional water damage repair team brings commercial air movers, dehumidifiers, and moisture meters that find water you can’t see, and monitors the drying until materials are back to normal. The Professional Water Damage Restoration Process Inspection and moisture mapping A technician confirms the water category and class, then maps how far moisture spread through walls, floors, and ceilings using moisture meters and, where needed, thermal imaging. Water extraction and structural drying Pumps and